


Refresh Your BBQ for Summer with Heat-Resistant BBQ Paint
Learn how to restore a rusty BBQ with heat-resistant paint, including preparation, painting, and curing tips for a long-lasting finish.
 Sofia·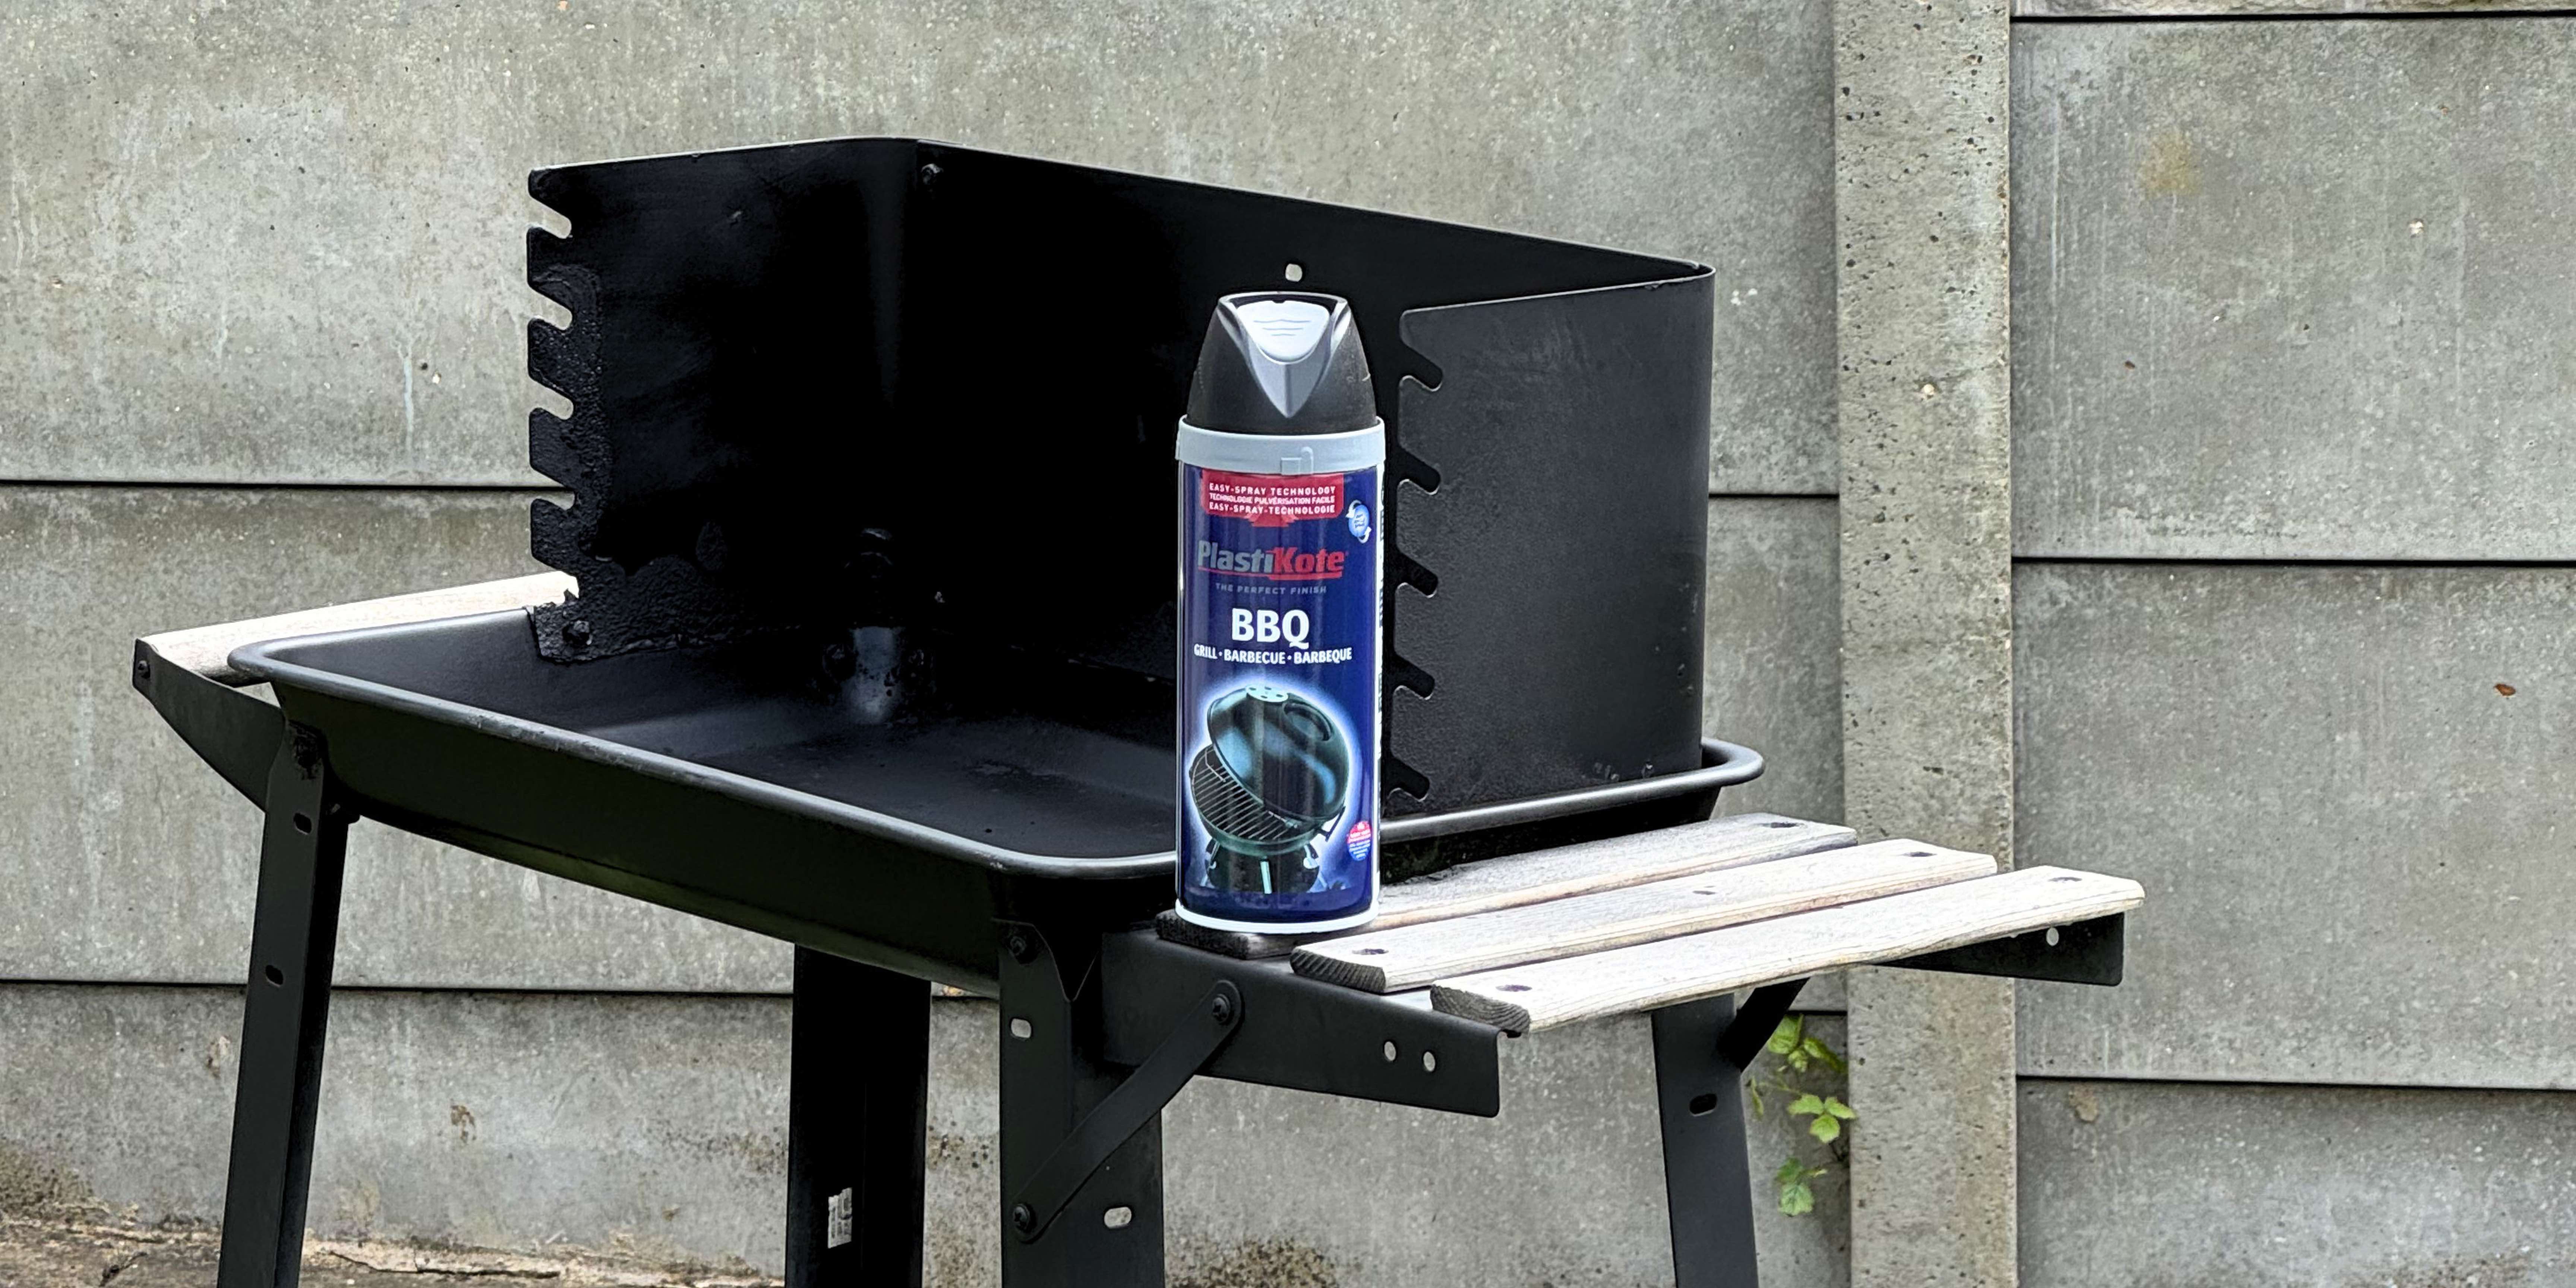
Refresh Your BBQ for Summer with Heat-Resistant BBQ Paint
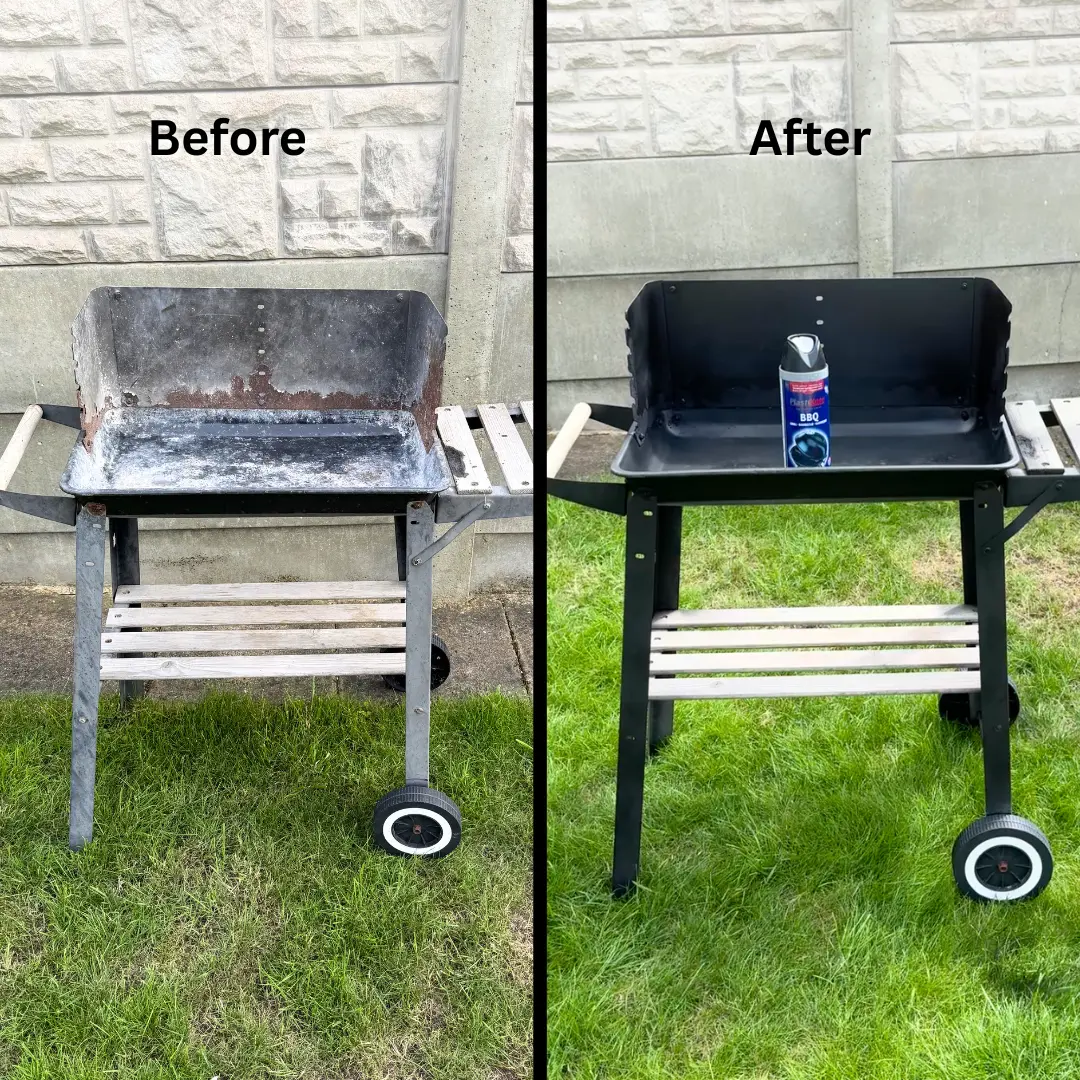
As summer approaches and barbecue season gets underway, your grill is likely to become the centrepiece of outdoor gatherings, family meals and garden parties. If your BBQ has picked up rust, faded paint, or weather damage over winter, there's no need to replace it.
Using a specialist BBQ paint is an affordable and effective way to restore your barbecue and give it a fresh, professional-looking finish. Designed to withstand extreme temperatures, heat-resistant BBQ paint helps protect your grill from rust while improving its appearance for the season ahead.
Why Use BBQ Paint Instead of Standard Spray Paint?
Not all spray paints are suitable for barbecues. Standard paints cannot withstand the high temperatures generated by grills and smokers. When exposed to heat, ordinary paint can blister, crack, peel and potentially release harmful fumes.
A specialist high-temperature BBQ paint is specifically formulated for use on barbecues, fire pits and outdoor cooking equipment. These coatings are designed to withstand intense heat while providing a durable protective barrier against rust, corrosion and weather damage.
Benefits of BBQ Paint
- Heat resistant for high-temperature cooking equipment
- Helps prevent rust and corrosion
- Restores the appearance of old or weathered BBQs
- Quick and easy aerosol application
- Suitable for BBQs, smokers, fire pits and outdoor heaters
- Provides long-lasting protection against the elements
How to Prepare Your BBQ Before Painting
Proper preparation is the key to achieving a long-lasting finish. Even the best BBQ paint will struggle to adhere to loose rust, grease or flaking paint.
1. Remove Rust and Loose Paint
Use a wire brush, abrasive pad, or sandpaper to remove:
- Surface rust
- Flaking paint
- Dirt and debris
- Burnt-on grease
Taking the time to prepare the surface properly will help prevent future peeling and ensure better paint adhesion.
2. Clean the Surface Thoroughly
Remove all traces of grease, oil and dirt before painting. A clean surface will allow the paint to bond properly and create a more durable finish.
Once cleaned, allow the barbecue to dry completely before applying any paint.
How to Paint a BBQ: Step-by-Step Guide
1. Remove or Mask Components
Take off removable parts such as cooking grates and shelves where possible. Use masking tape to protect:
- Handles
- Thermometers
- Control dials
- Logos and badges
Important: Never paint the inside of the grill or any surface that comes into direct contact with food.
2. Apply Thin Coats
Shake the can thoroughly before use.
Hold the spray can approximately 20–30cm from the surface and apply light, even coats using a sweeping motion. Several thin coats will provide a smoother and more durable finish than one heavy coat.
3. Allow Time Between Coats
Leave approximately 10-15 minutes between coats. Most BBQ restoration projects require two to three coats for complete coverage.
Larger smokers, charcoal barrels and multi-burner gas grills may require additional paint.
4. Cure the Paint
Once the paint has fully dried, the final step is to cure the coating using heat.
- Reassemble your barbecue.
- Light the BBQ or switch on the burners at a low temperature.
- Maintain a gentle heat for approximately 20 minutes.
- Gradually increase the temperature over the next 20-30 minutes.
This controlled heating process allows the paint to cure correctly, creating a tougher and more durable finish that is better able to withstand repeated exposure to high temperatures.
You may notice a slight smell during the first heating cycle. This is completely normal and forms part of the curing process.
Why You Must Cure BBQ Paint After Painting
One of the most important steps when restoring a barbecue is curing the paint properly.
Although the paint may feel dry to the touch, it will not reach its maximum hardness and heat resistance until it has been heated. Curing helps bond the paint to the metal surface, improving durability and helping to prevent premature peeling, cracking, or blistering.
Skipping this step can reduce the lifespan of the finish and affect its ability to withstand regular use.
Give Your BBQ a New Lease of Life This Summer
Before investing in a new grill, consider restoring the one you already own. With a little preparation and a few coats of high-temperature BBQ paint, you can transform a tired, rusty barbecue into a smart, weather-resistant centrepiece for summer entertaining.
Whether you're refurbishing a charcoal BBQ, gas grill, smoker, or fire pit a fresh coat of BBQ paint is one of the easiest and most cost-effective ways to get your outdoor cooking equipment ready for the season ahead.
